
Your First Private Transaction
Mirage is simple to use. How simple? It takes less than a minute to submit your transaction and 90 seconds to process it. Here, you will learn how to send a private stablecoin transaction on Ethereum mainnet in three easy steps.
Watch a private transfer
Step 1: Define your transaction
First, open the Mirage web app. Enter the intended recipient of your transaction (ENS is supported), the token you want to send, and the amount.
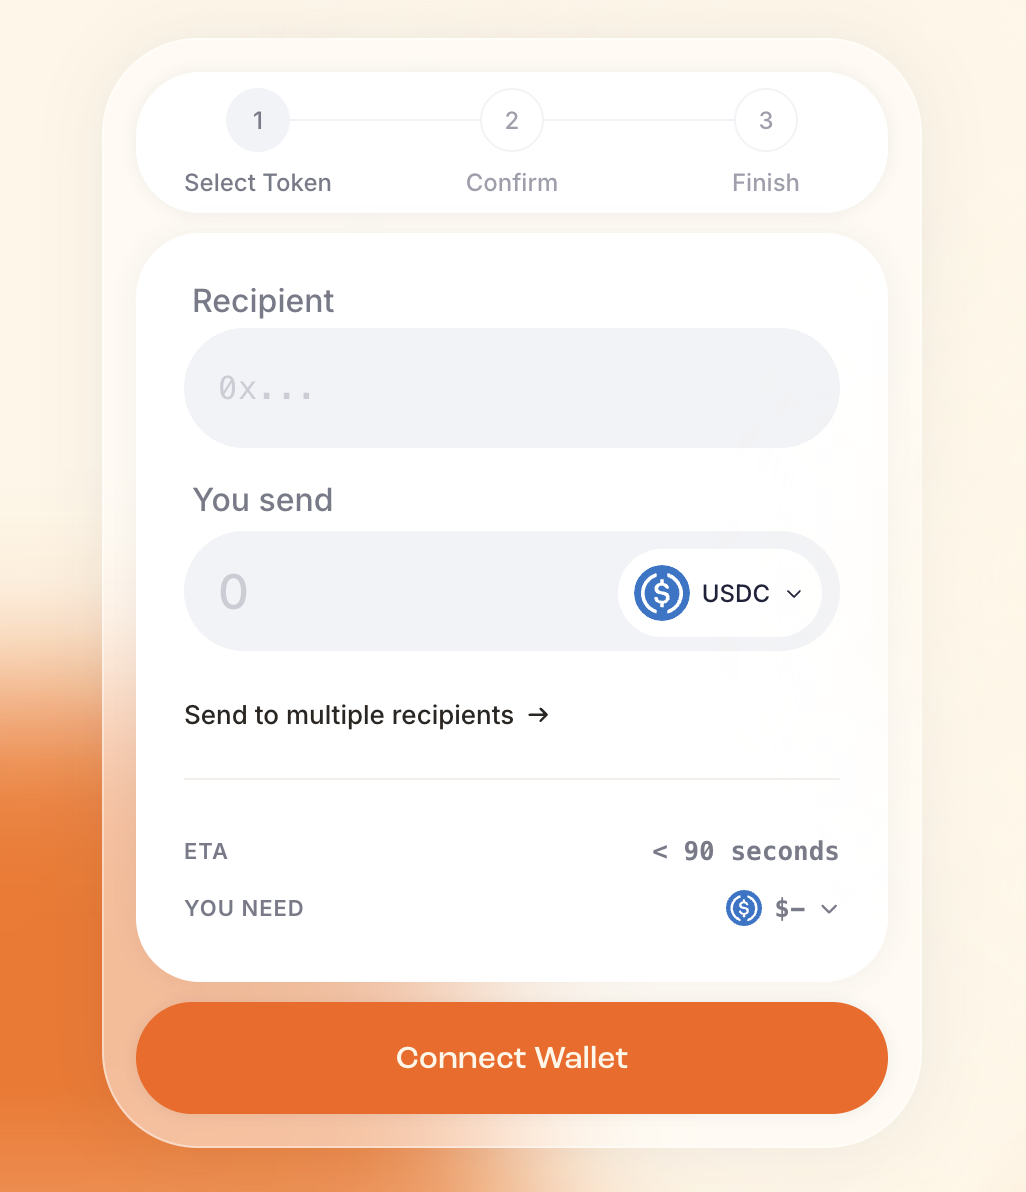
After filling the transaction details, the website will show you the estimated fees (including the blockchain gas costs).
Step 2: Submit your transaction
After entering the transaction details and connecting your wallet, select Continue to open the confirmation page.
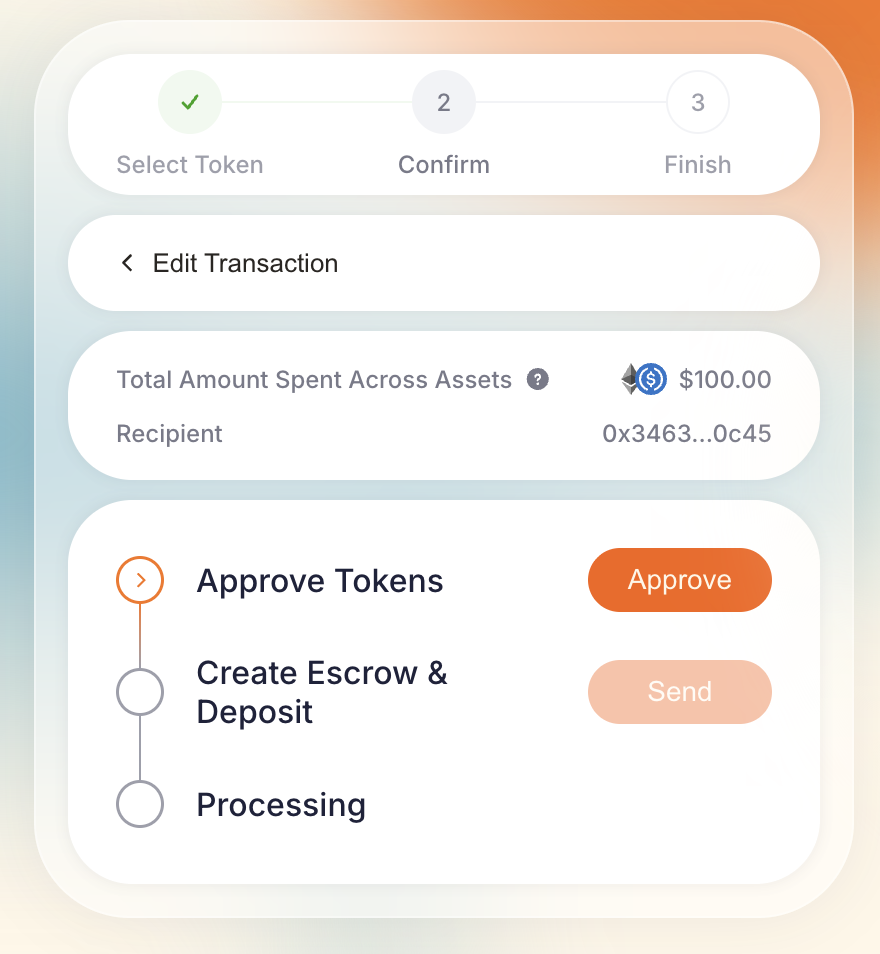
Depending on the token and wallet type, your wallet will ask you to confirm one or two transactions. If you are sending a token other than ETH without a smart wallet, you must approve the token first. Mirage then deploys your unique escrow contract, which holds the transaction amount and fees until the request is fulfilled or you cancel and withdraw your funds.
Step 3: Collect your receipt
Soon after creating your escrow contract, you should see that the recipient has received the funds and that your transaction was successfully fulfilled. Congratulations on sending your first Mirage transaction! You may download a PDF receipt containing the full transaction data from your history page. Please note that this receipt is confidential and contains your transaction metadata in plaintext for your own records. Be careful if you decide to share it with someone.